Why CT perfectly complements additive manufacturing
For additively manufactured components with complex geometries, conventional test methods reach their limits. Using the example of housings intended for hearing protection and a connection angle, we show you how you can achieve reliable quality assurance despite complexity and structure.
Components are often manufactured additively from one piece and without assembly. This has clear advantages: costs are reduced, lead times are shorter and the material is used more efficiently. In addition, additive manufacturing enables the implementation of complex geometries such as channels and chambers. This, in turn, presents challenges for quality assurance, since such components can hardly be checked for their specifications using conventional measuring technology (e.g. hand-held measuring devices, 3D coordinate measuring machines).
Non-destructive testing of additively manufactured components
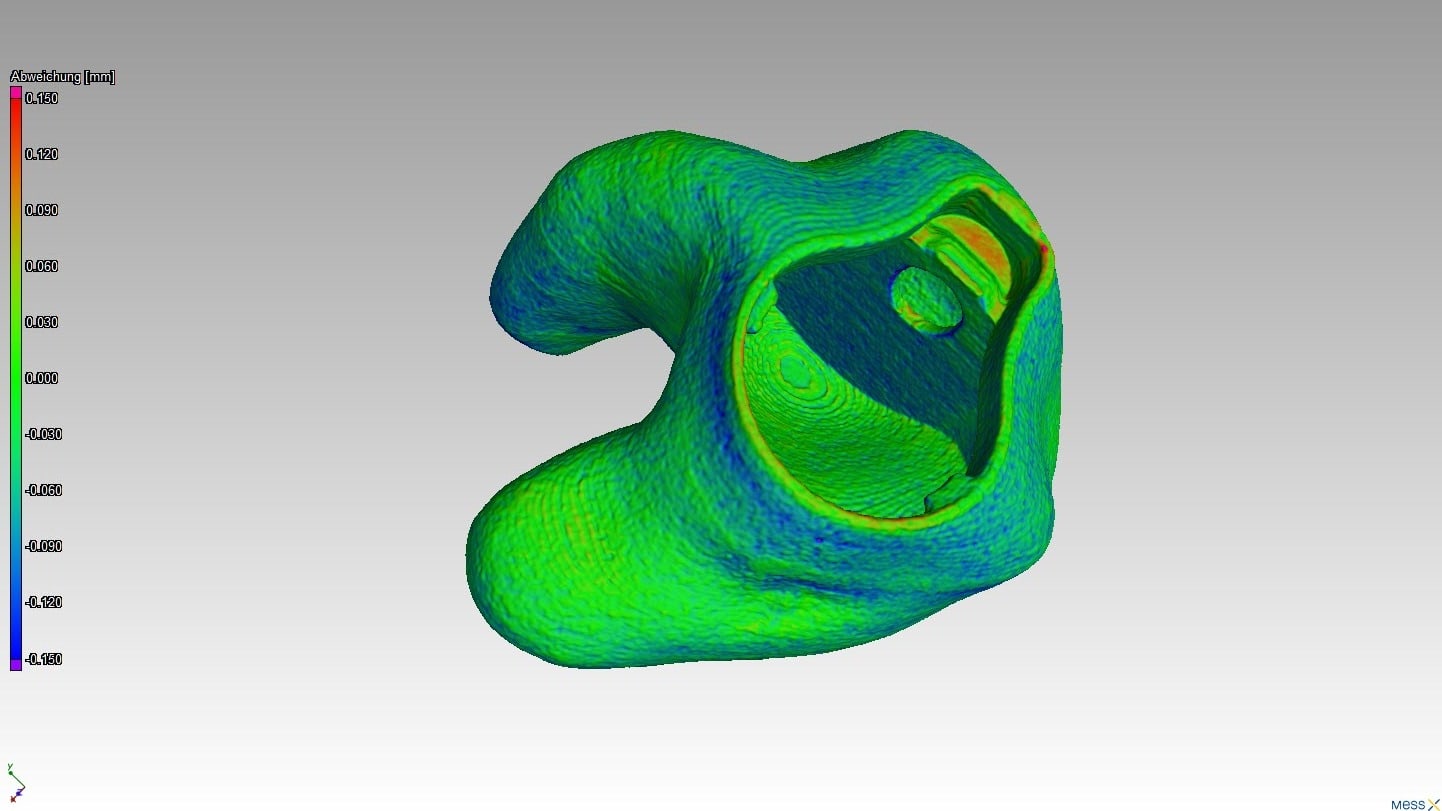
This is where the advantages of the CT method come into play perfectly: there are no accessibility problems so that even complex internal geometries can be checked for their specifications completely non-destructively. Using a target-actual comparison, the component is examined for its nominal geometry in the shortest possible time. A visual evaluation using a false-color representation simplifies the assessment of whether the specifications of the tested component have been met. Are the wall thicknesses sufficient? An analysis of the CT data also answers this question. The created evaluations and analyzes can then be viewed and further analyzed interactively in 3D on your own computer using the “Viewer Project”.
Digitizing components via CT for additive manufacturing
What to do if a component series is to be manufactured additively and there is neither a drawing nor 3D data of the nominal geometry? Here, too, the CT process complements additive manufacturing perfectly: the real component is completely digitized in CT. Then an STL file with the complete data of the external and internal surfaces of the component is extracted, which can be used directly for additive manufacturing.
Desired adjustments can of course be included in the STL file. Defects or other defects on the existing component can be corrected virtually without any problems.
Example 1: Optimizing a T-piece connection angle
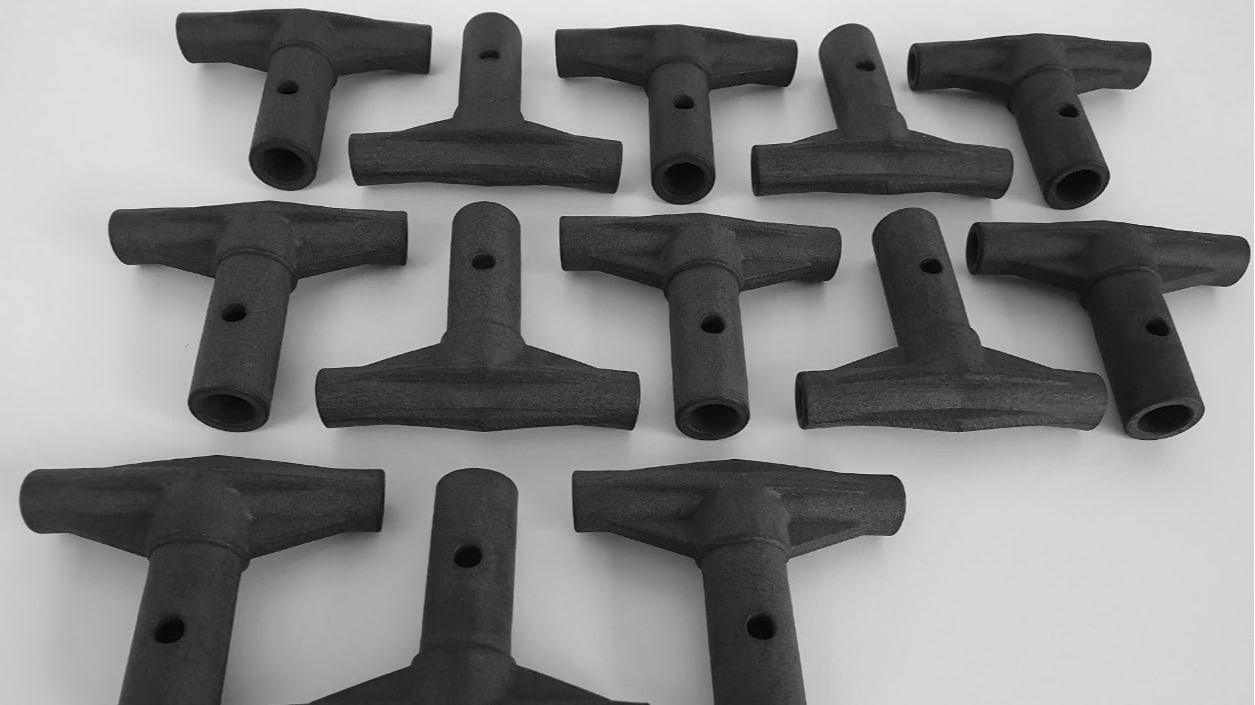
MessX examined an injection-molded T-piece (connecting angle) using the CT method, which broke under the intended load. The problem was immediately apparent: Vacuoles in the critical area weakened the material and led to fracture under load. An STL file with information on the outer and inner surface of the component was extracted from the generated CT data. The geometry was reinforced with a honeycomb structure at the critical points. The client, prodartis AG, manufactured the new component by additive manufacturing. In practical tests, the optimized parts withstood far more than the required load.
Example 2: Testing of housings intended for hearing protection
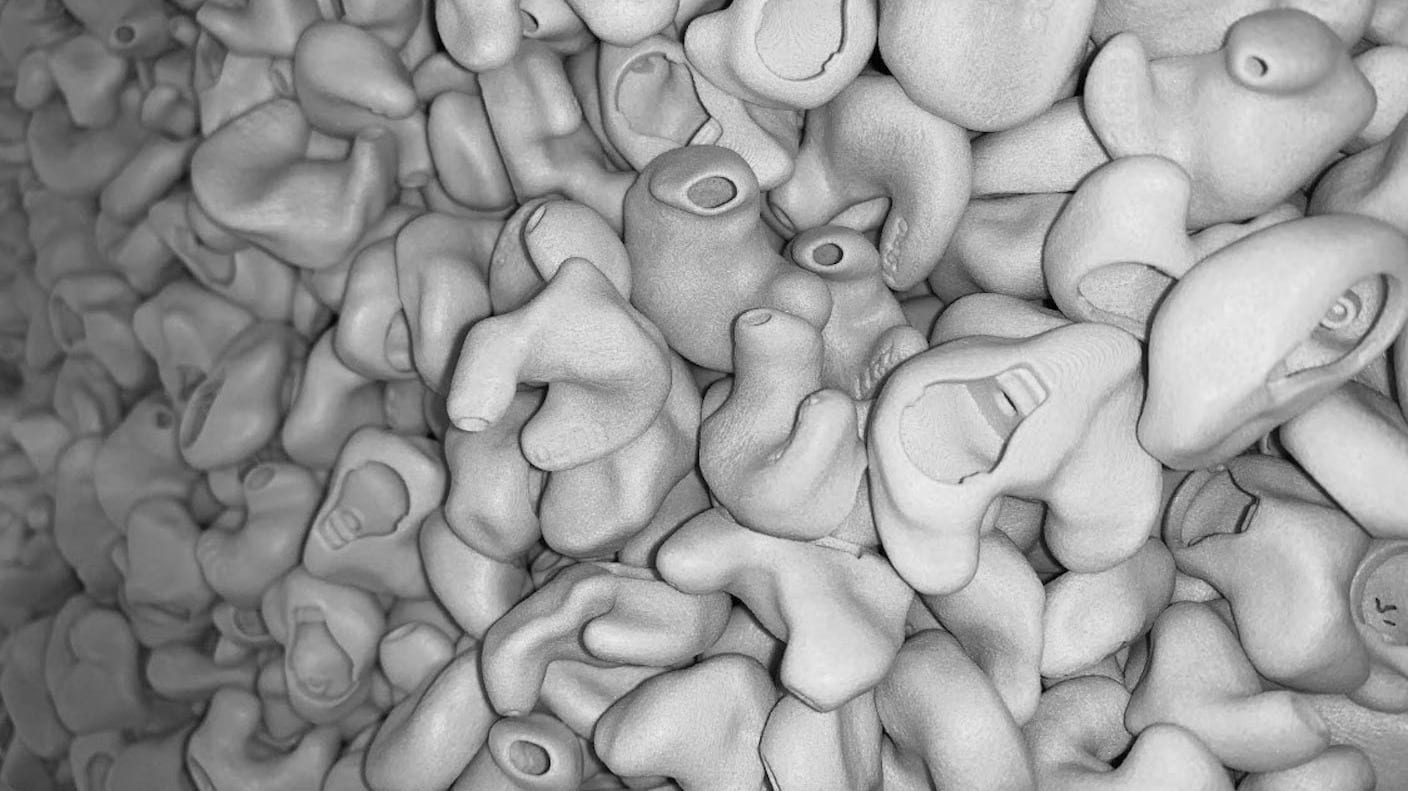
prodartis produced 35'000 housings intended for hearing protection for Phonak Communications AG. The special feature of this hearing protection: each housing is unique. The geometry is individually adapted to the shape of the customer's ear canal. What could not be achieved with conventional test methods could be realized efficiently and in a goal-oriented manner thanks to CT procedures.
Would you like to get to know the possibilities of computed tomography better?
Contact us so that we can bring you closer to the diverse possibilities. The entire MessX team looks forward to hearing from you!


